Layouts 4 Ning and more!
PSP- The Making of Custom Ride
I used PSP X2.
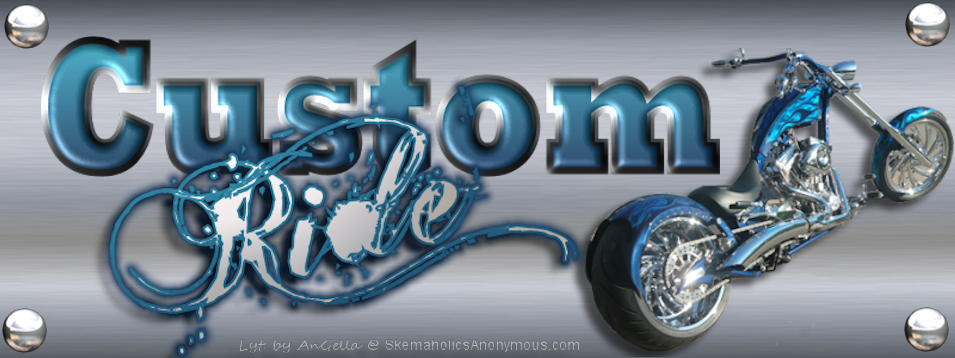
Custom Ride
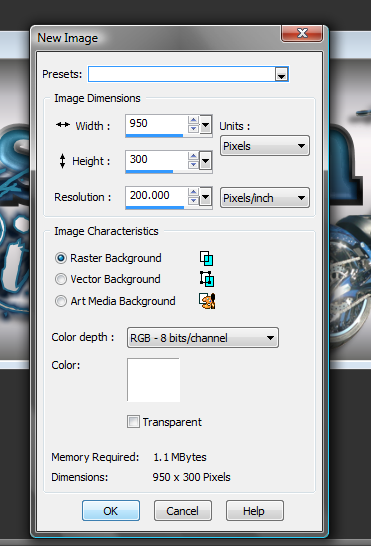
1. Open a new image
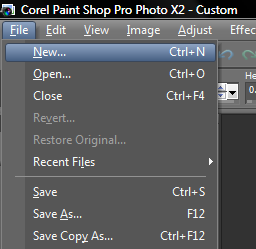
I used 950x300 for the size and white as the color.
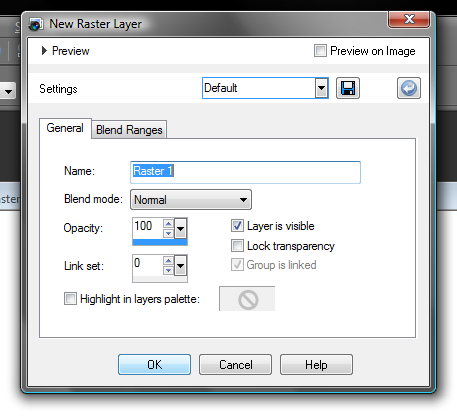
2. Now we want to create a New Raster Layer. (We will do this a lot :P )
Click on Layer>>New Raster Layer
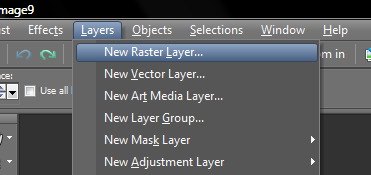
This window will pop up, hit ok.
3. Now we have a new layer that we will fill as out Bg (background).
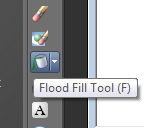
We want to find the Fill Bucket.
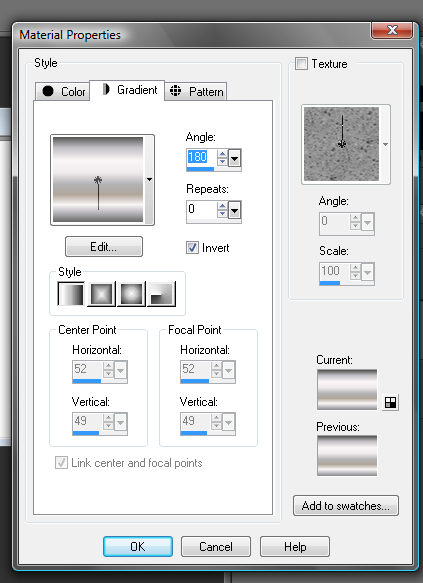
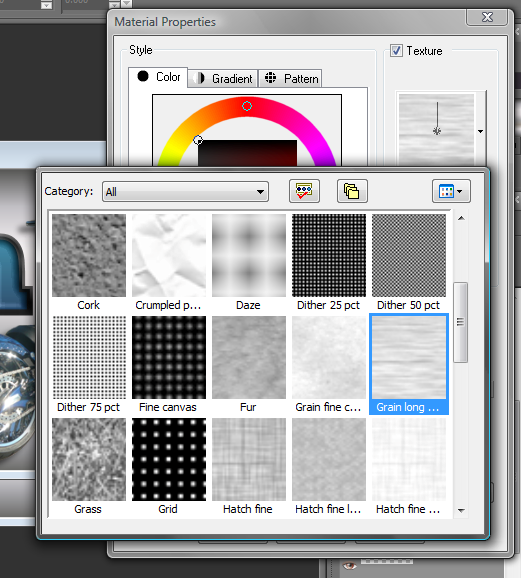
4. Next we are going to go over to our color picker area to the top right.
Click on a large color box and look for the Gradient tab.
Find the one called Metal Steel and click on it.
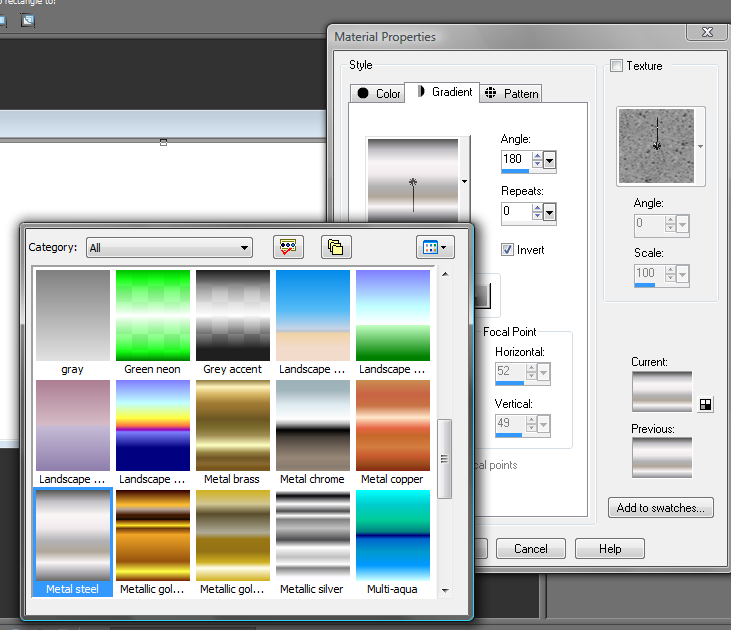
Click on ok.
5. Then you are ready to repeat step two by making a new layer.
Now that we have our new layer we want to grab that fill tool again.
Go and click on a large color box and click on the Color Tab.
Pick Black, then click on the texture box.
Look for Grain Long and choose it, making sure it is going from left to right and click ok.
6. Now click on your image to fill it with grain.
It will be dark, but we are going to go over to the right and change the transparency to 20%.
7. Now we are ready for our rivets! Repeat step two again for a new layer.
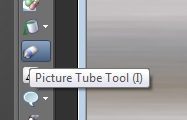
Choose the picture tube tool for this step.
You will see a box in the upper left of your workarea with an image in it, click on that.
Choose Metal Tube, size it to 50%.
Now with the pick tool you can move it to a corner.
Right click on the tube and choose duplicate.
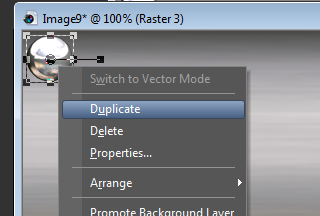
8. Now you have an identical image right on top of your other.
Use the pick tool to move it to another corner.
Repeat until you have rivets in all the corners.
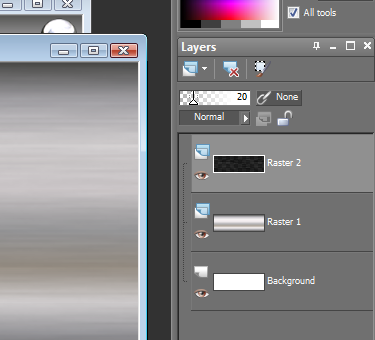
When you are done your layers should resemble this:

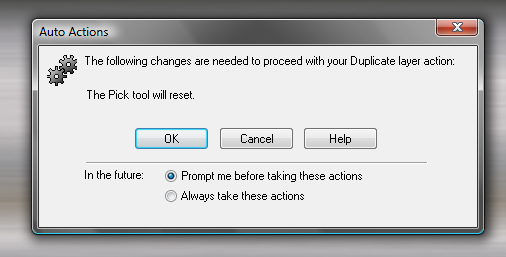
This may pop up a lot... I just hit ok.
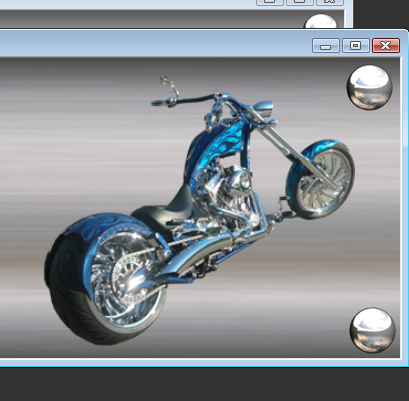
9. Next I added a custom chopper I photographed at Harley's 105th Celebration.
You may add your own bike. :) (Just remember to erase the Bg.)
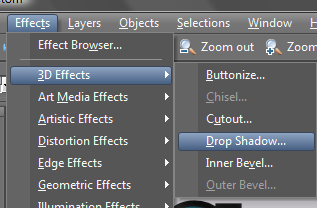
10. Now that we have our Chopper we want to make it stand out. Give it a shadow.
Choose effects>> 3D effects>> Drop Shadow.
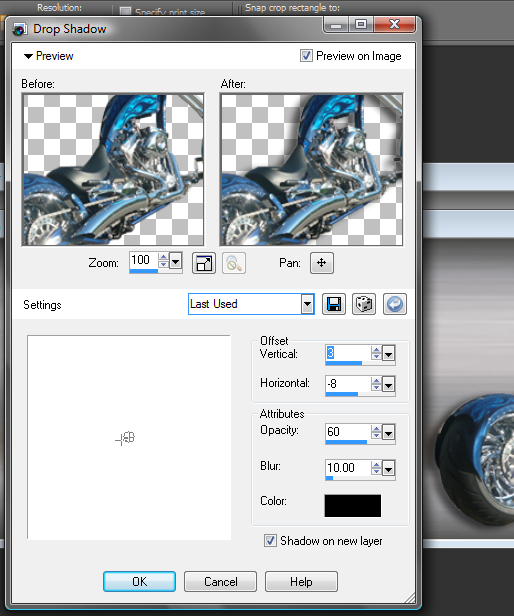
Adjust the shadow to your liking or use my pictured settings and click ok.
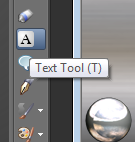
11. Now it is time to add the text. Click on the text tool.
Feel free to choose what you like. I used Rockwell extra bold. Then type in Custom.

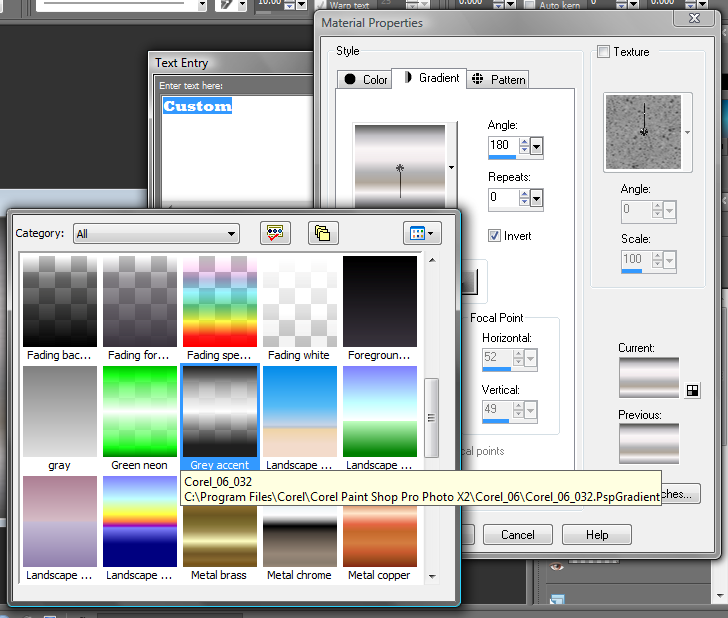
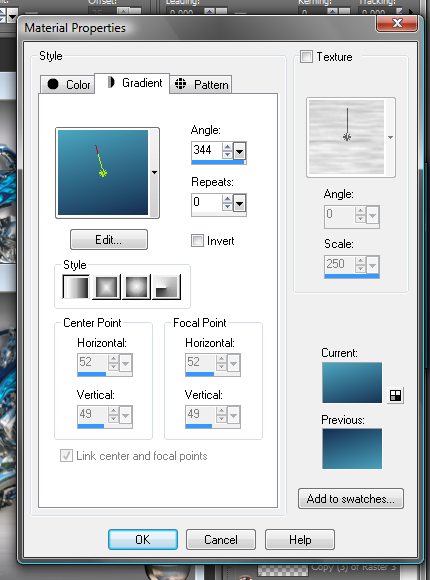
12. Now you want to highlight it and choose your colors by clicking on those large color boxes.
The top box should be Gray Accent Gradient the bottom to match your bike.
Now on the top tool bar below Help you will want to adjust the Stroke Width to 6.
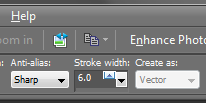
Note:Make sure your text is highlighted while you make these adjustments.
Click apply and then use the pick tool to size the text to your liking.
13. Now we will go to our layer panel and right click on the vector layer with our text.
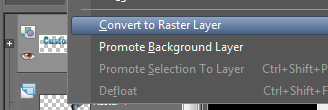
Choose convert to raster layer.
Now that we are a raster layer we can choose an effect.
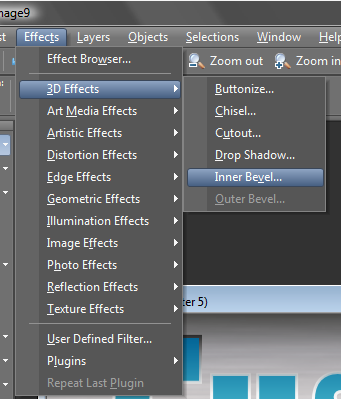
Click on Effect>>3D Effects>>Inner Bevel
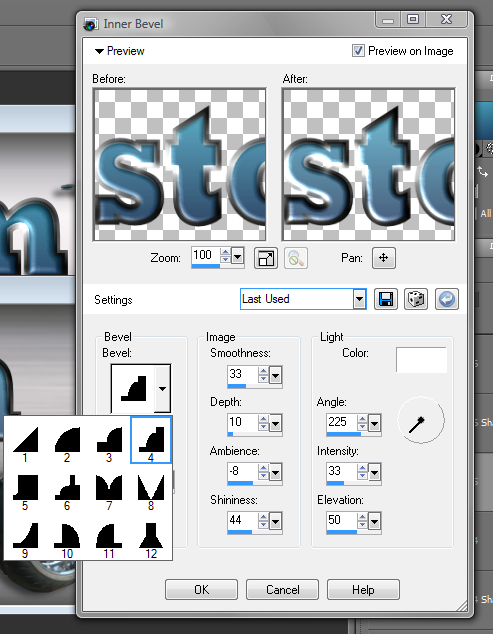
14. You may use my pictured settings or choose your own.
15. Now we are ready to grab the text tool again and add our second word, I choose Ginga font.
Click on the image and type in Ride.
Highlight it, then click on the arrows between the large color boxes to flip them.
Click on the box with the color of your bike and click the invert box.
While your text is still highlighted change the stroke width to one or two what looks better.
Now click apply.
16. Repeat step 12 but with this new text vector layer.
17. Now we will repeat the part in step 10 where we made a drop shadow.
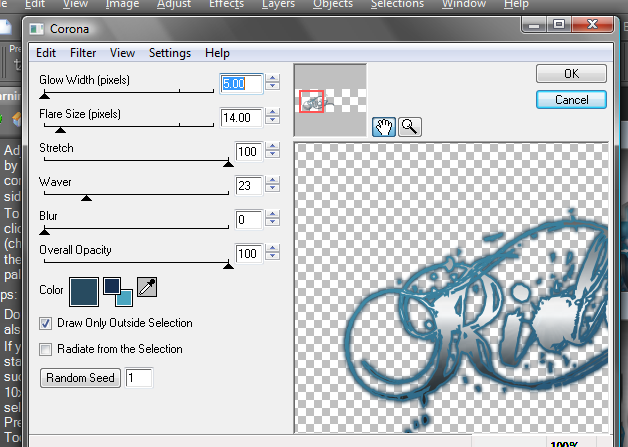
18. Now is where I used a plug in called Eye Candy 4000 to add a glow effect to the text.
If you have this go to effects>>plug ins>>eye candy 4000>>Corona
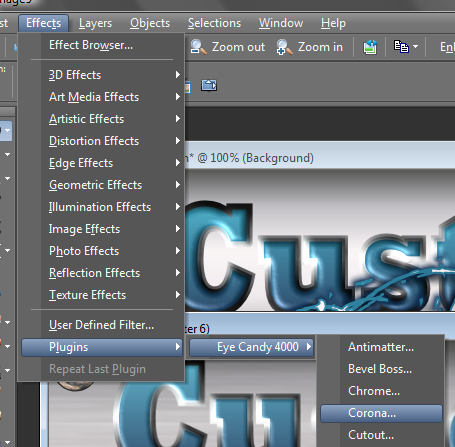
Here is how I set my corona effect:
And I think that covers it!
Happy image making, and if there are any questions please feel free to ask!
_
Forget MTV, I want my Skem9!
Views: 134
Search
Translate!
Discussion Forum
Gimp- Animating Water 4 Replies
Started by AnGella. Last reply by Connie (。♥‿♥。) May 29, 2020.
Stripe Generator 1 Reply
Started by AnGella. Last reply by Connie (。♥‿♥。) Mar 14, 2020.
Installing Fonts and Dingbats in PSP X2 2 Replies
Started by AnGella. Last reply by Connie (。♥‿♥。) Mar 14, 2020.
PSP- The Making of Custom Ride 7 Replies
Started by AnGella. Last reply by AnGella Apr 13, 2013.
Tartan Maker 2 Replies
Started by AnGella. Last reply by AnGella Apr 17, 2012.
Generators!
SiteModel
Ning Generator
Skinny Ning
Biker Or Not

Create!
Contribute to SA
Find this site helpful? Please consider a donation!
Random Ning Networks
Birthdays
Birthdays Today
Birthdays Tomorrow
© 2025 Created by AnGella.
Powered by
![]()